> ## Documentation Index
> Fetch the complete documentation index at: https://docs.semgrep.dev/llms.txt
> Use this file to discover all available pages before exploring further.
# View Semgrep findings in Wiz's Security Graph
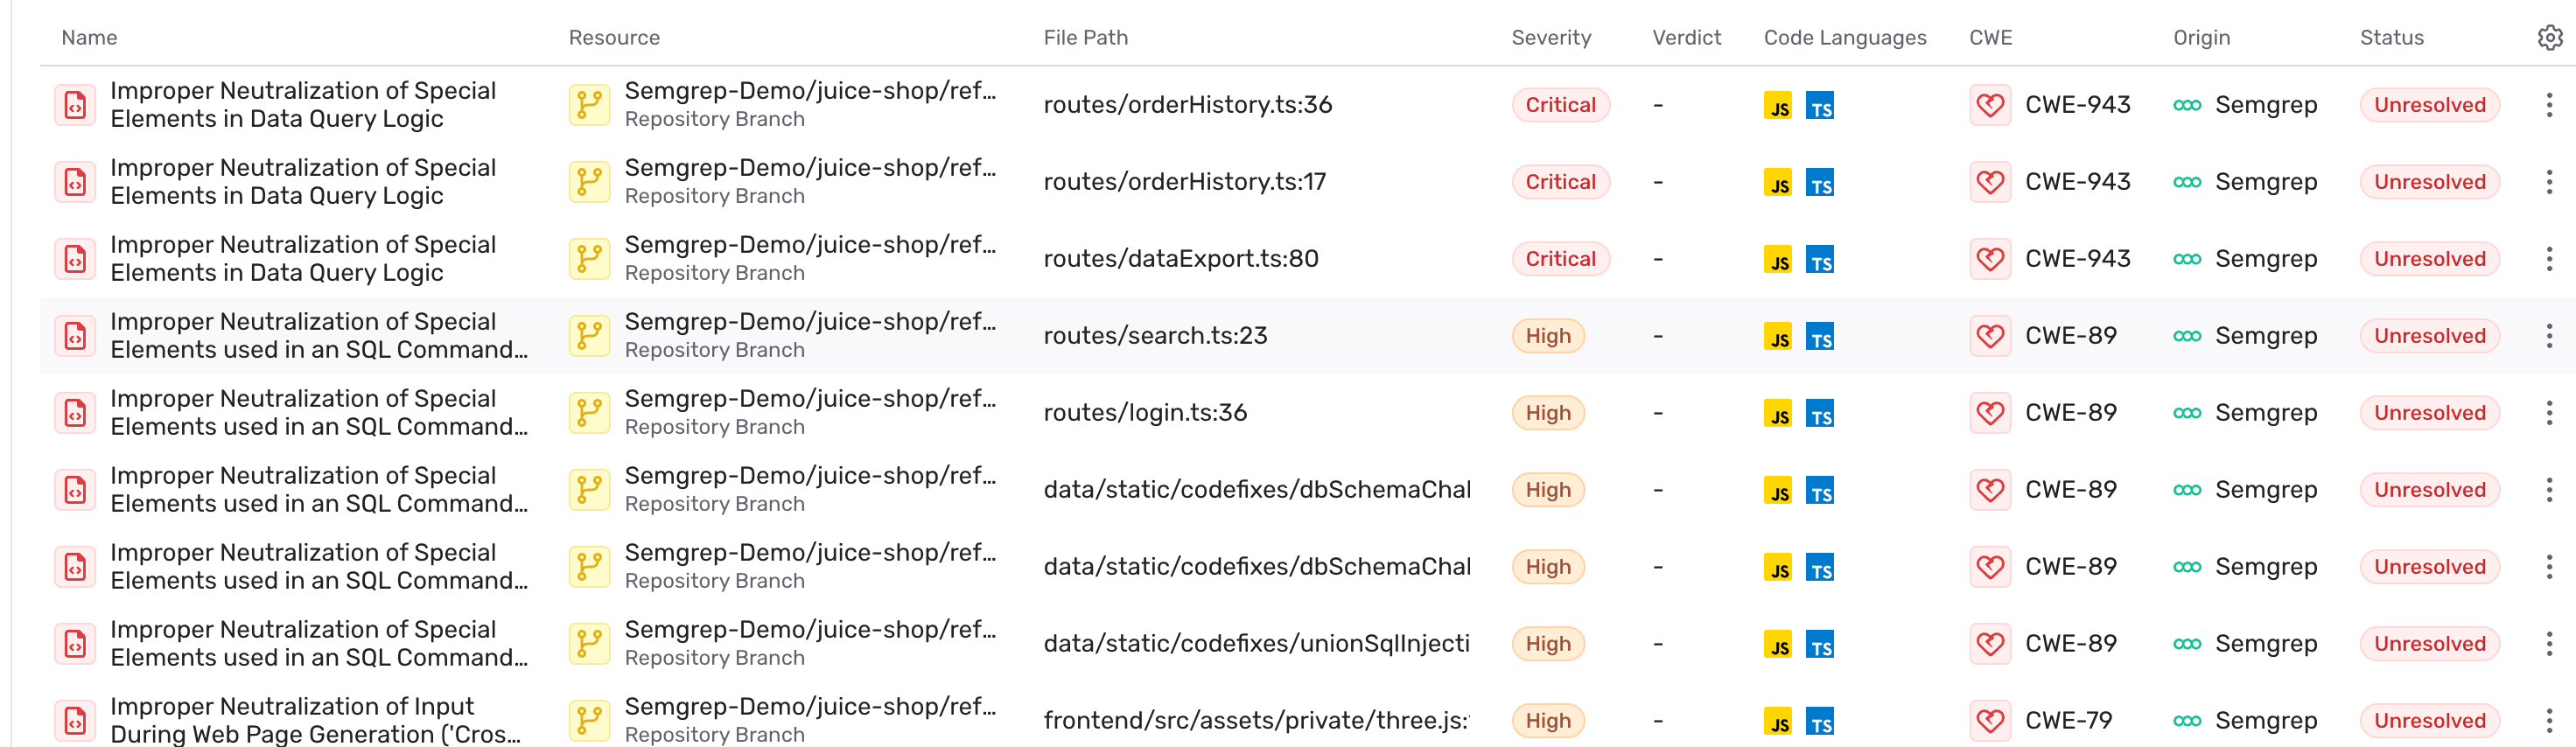
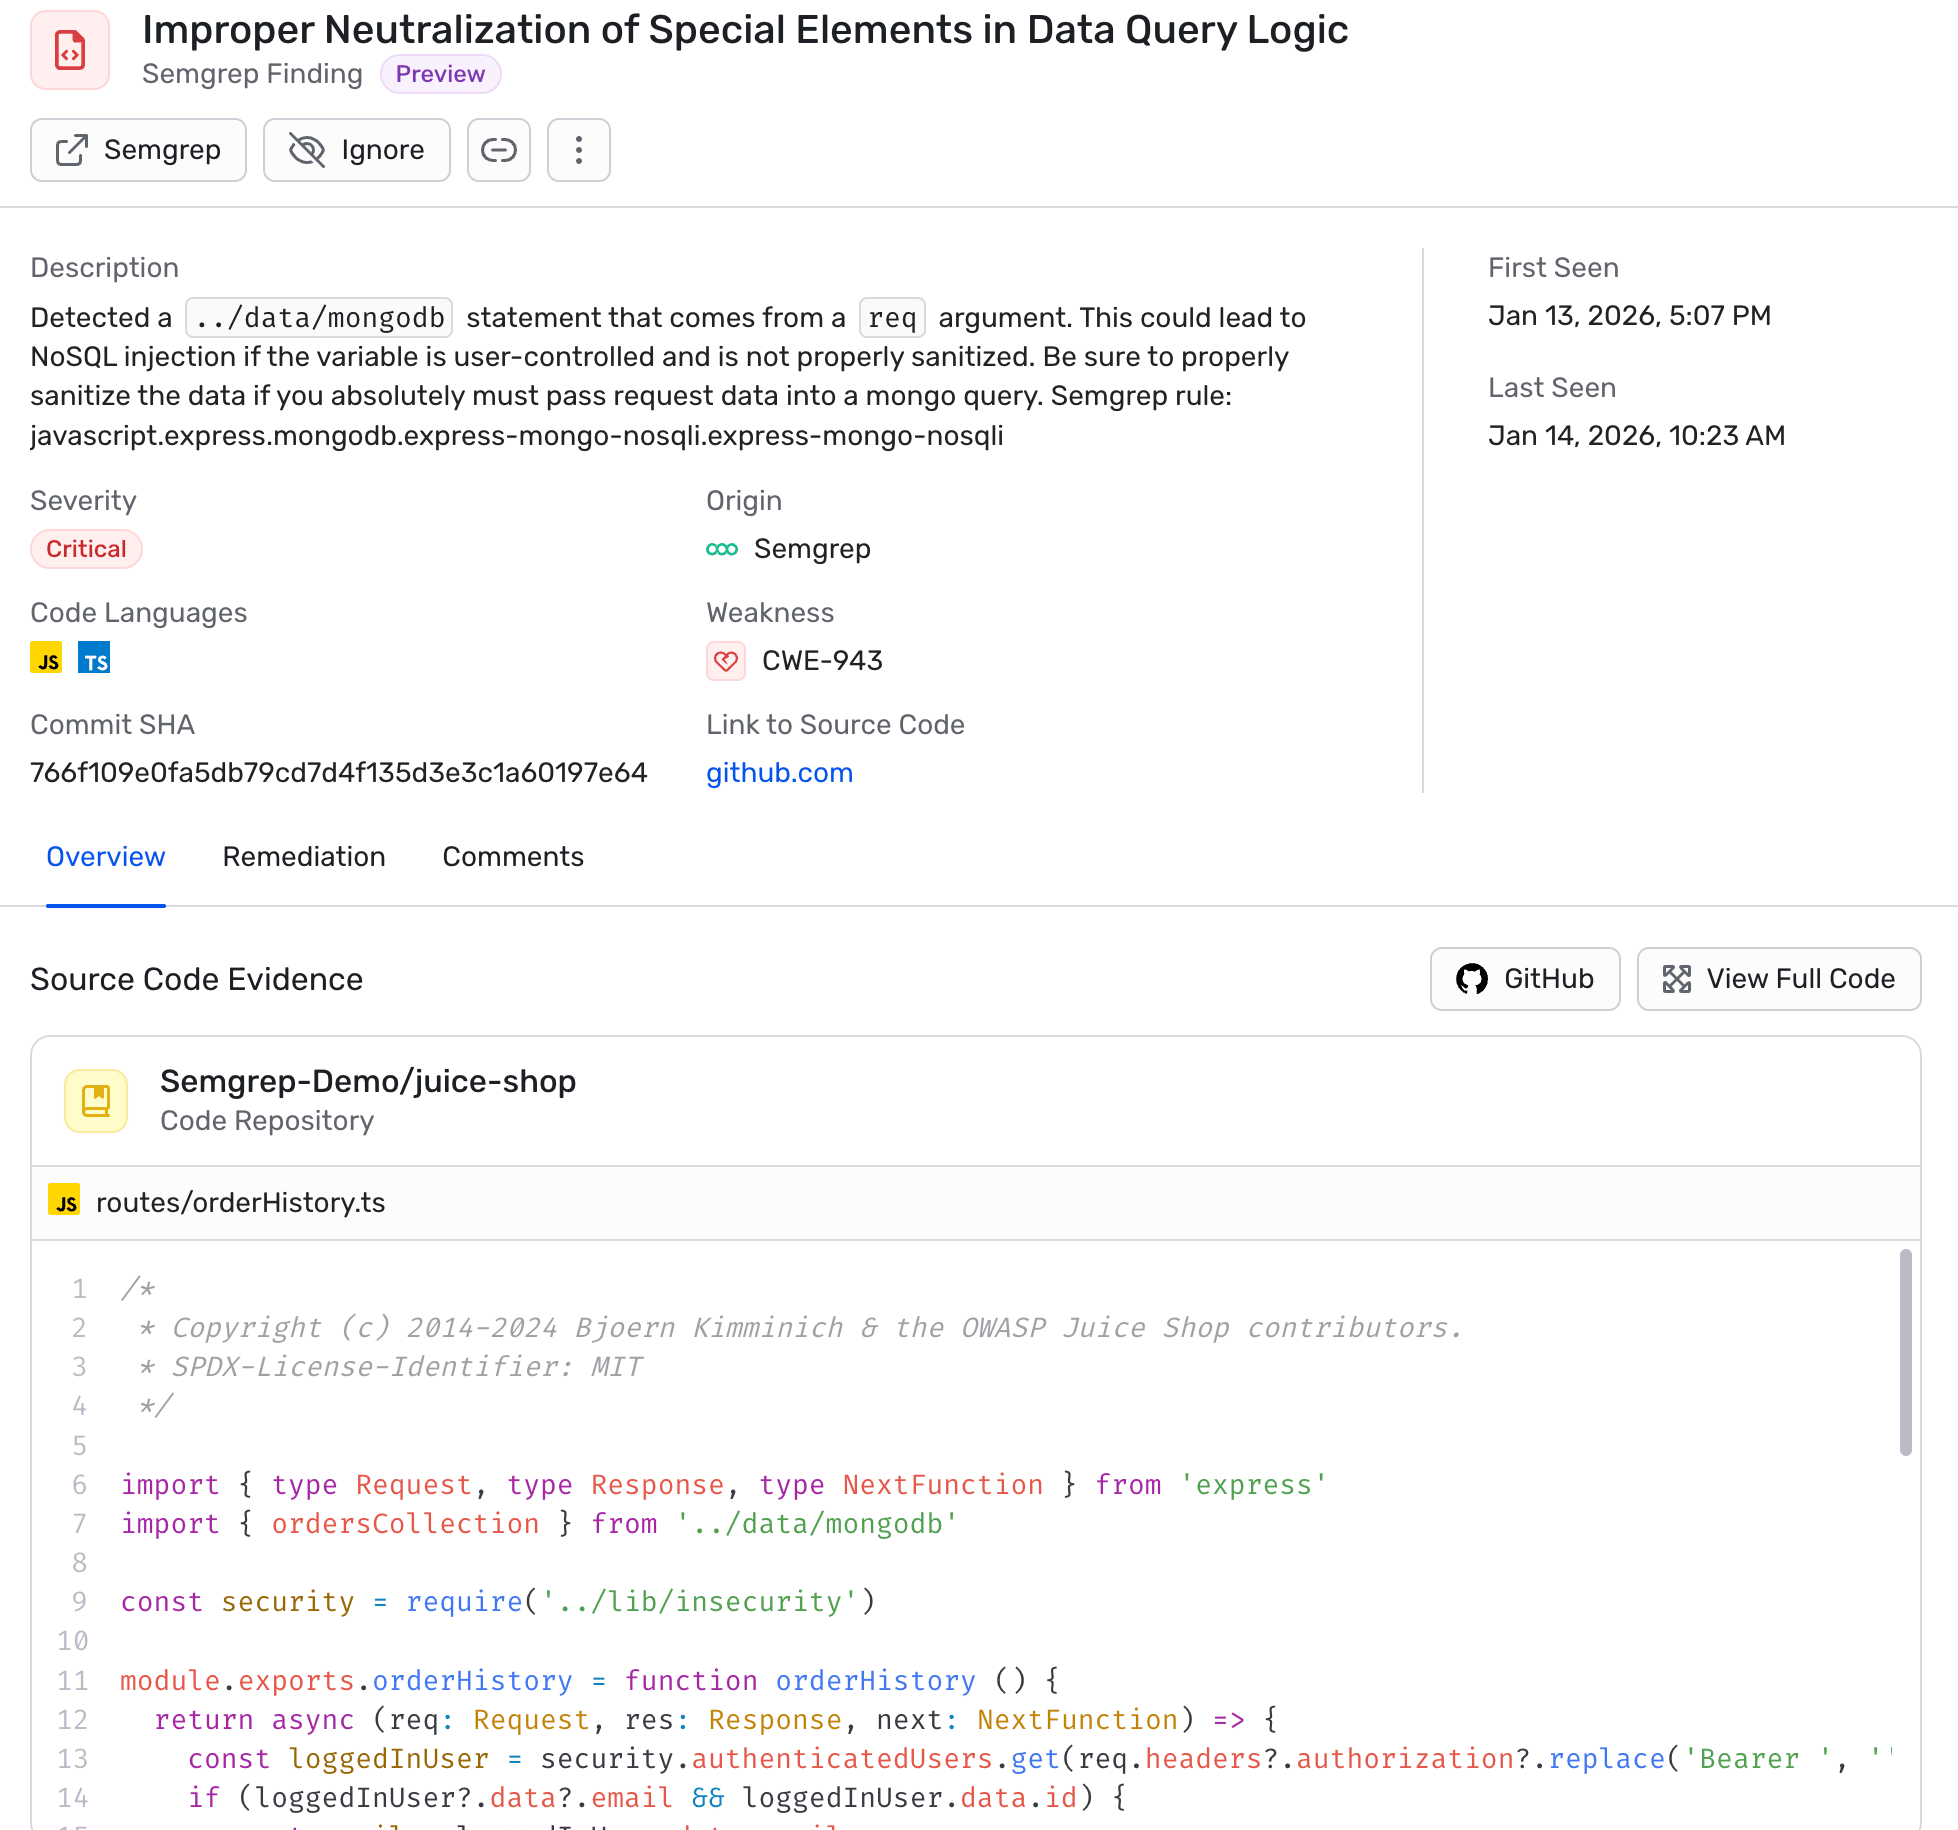
Semgrep integrates with Wiz by establishing a secure connection with Wiz's API endpoints. If your Wiz instance has a security graph enrichment integration, you can view SAST vulnerabilities that Semgrep identifies in the repositories it scans and are also present in your cloud-native application protection platform (CNAPP). Semgrep's goal is to give you a holistic view of your code and infrastructure security so that you can focus on what matters most.
 ## Prerequisites
This integration is available for users with both a [Semgrep Code license](https://semgrep.dev/products/semgrep-code/) and a [Wiz Code Security license](https://www.wiz.io/platform/wiz-code).
To send Semgrep Code findings to Wiz:
* You must [connect your source code manager to Semgrep](/deployment/connect-scm). At this time, Wiz [supports the use of the following](https://win.wiz.io/sast-app-vuln-findings-schema#schema-fields):
* GitHub Cloud
* GitHub Enterprise Server
* GitLab Cloud
* GitLab Self-managed
* You must have a Wiz service account with sufficient permissions to create a service account, if needed, and integrations. The service account must be able to provide Semgrep with the following scopes: `create:external_data_ingestion`, `read:system_activities`, and `read:resources`. You must also have [the client ID and the client secret that accompanies the service account](https://docs.wiz.io/wiz-docs/semgrep-integration).
* You must add the [Semgrep integration](https://app.wiz.io/settings/automation/integrations) from the Wiz Integration Network. During this process, save the following values shown to you:
i. API Endpoint URL
## Prerequisites
This integration is available for users with both a [Semgrep Code license](https://semgrep.dev/products/semgrep-code/) and a [Wiz Code Security license](https://www.wiz.io/platform/wiz-code).
To send Semgrep Code findings to Wiz:
* You must [connect your source code manager to Semgrep](/deployment/connect-scm). At this time, Wiz [supports the use of the following](https://win.wiz.io/sast-app-vuln-findings-schema#schema-fields):
* GitHub Cloud
* GitHub Enterprise Server
* GitLab Cloud
* GitLab Self-managed
* You must have a Wiz service account with sufficient permissions to create a service account, if needed, and integrations. The service account must be able to provide Semgrep with the following scopes: `create:external_data_ingestion`, `read:system_activities`, and `read:resources`. You must also have [the client ID and the client secret that accompanies the service account](https://docs.wiz.io/wiz-docs/semgrep-integration).
* You must add the [Semgrep integration](https://app.wiz.io/settings/automation/integrations) from the Wiz Integration Network. During this process, save the following values shown to you:
i. API Endpoint URL
ii. Authentication URL
You can find both values at a later date under [tenant info](https://app.wiz.io/tenant-info/general).
**NOTE**
For Wiz users with a [Code Security](https://www.wiz.io/platform/wiz-code) license: this integration takes effect automatically when you create a Wiz Cloud Insights account.
## Limitations
Semgrep sends data to Wiz after every successful full scan; Semgrep does not send data from diff-aware scans. Wiz batches and syncs your data once every 24 hours.
By default, the Code findings that Semgrep sends are:
* Critical or high severity
* From full scans
* From the default branch of each repository
Semgrep sends findings from all repositories on supported SCMs in your organization. Findings previously sent but not included in submissions are marked as fixed in Wiz.
Currently, findings from repositories on SCMs other than GitHub and GitLab are not supported, as indicated in [Prerequisites](#prerequisites).
**CAUTION**
Due to [a limitation of how Wiz handles external enrichment data](https://win.wiz.io/limitations#external-enrichment-limitations), you must run a new SAST scan on your Semgrep project once a week to maintain the data displayed in Wiz.
## Add the Semgrep integration from the Wiz Integration Network
To learn how to add the Semgrep integration from the Wiz Integration Network, review [Wiz Docs' Semgrep Integration](https://docs.wiz.io/wiz-docs/semgrep-integration).
## Configure the integration in Semgrep
Once you've added the Semgrep integration from the Wiz Integration Network, you must continue the setup process in Semgrep:
Sign in to [Semgrep](https://semgrep.dev/login).
In the navigation bar, click **Settings**.
Navigate to **Integrations**, and click **+ Add > Wiz**.
In the dialog that appears, provide the following information:
i. API Endpoint URL
ii. Authentication URL
iii. Client ID
iv. Client Secret
You can obtain the **API Endpoint URL** and the **Authentication URL** from Wiz in [Tenant Info](https://app.wiz.io/tenant-info/general), while Wiz provides the **Client ID** and **Client Secret** when you set up a service account.
Click **Connect**.
If Semgrep successfully creates the connection, a dialog pops up that says, "Wiz credential created successfully." Semgrep also lists Wiz as an integration; you can verify the connection again by clicking **Test connection**.
### Edit the integration
To edit the integration:
Sign in to [Semgrep](https://semgrep.dev/login).
In the navigation bar, click **Settings**.
Navigate to **Integrations**, and find the **Wiz** integration.
Click **Edit**, and update the information required by Wiz as needed.
Click **Save changes**.
### Delete the integration
To delete the integration:
Sign in to [Semgrep](https://semgrep.dev/login).
In the navigation bar, click **Settings**.
Navigate to **Integrations**, and find the **Wiz** integration.
Click the ** trash can** icon.
Click **Delete** to confirm.