PREREQUISITES
- An existing Microsoft Entra ID account.
- Sufficient permissions within Microsoft Entra ID to create enterprise apps. See Microsoft Entra ID roles.
- Admin privileges for your Semgrep deployment.
1
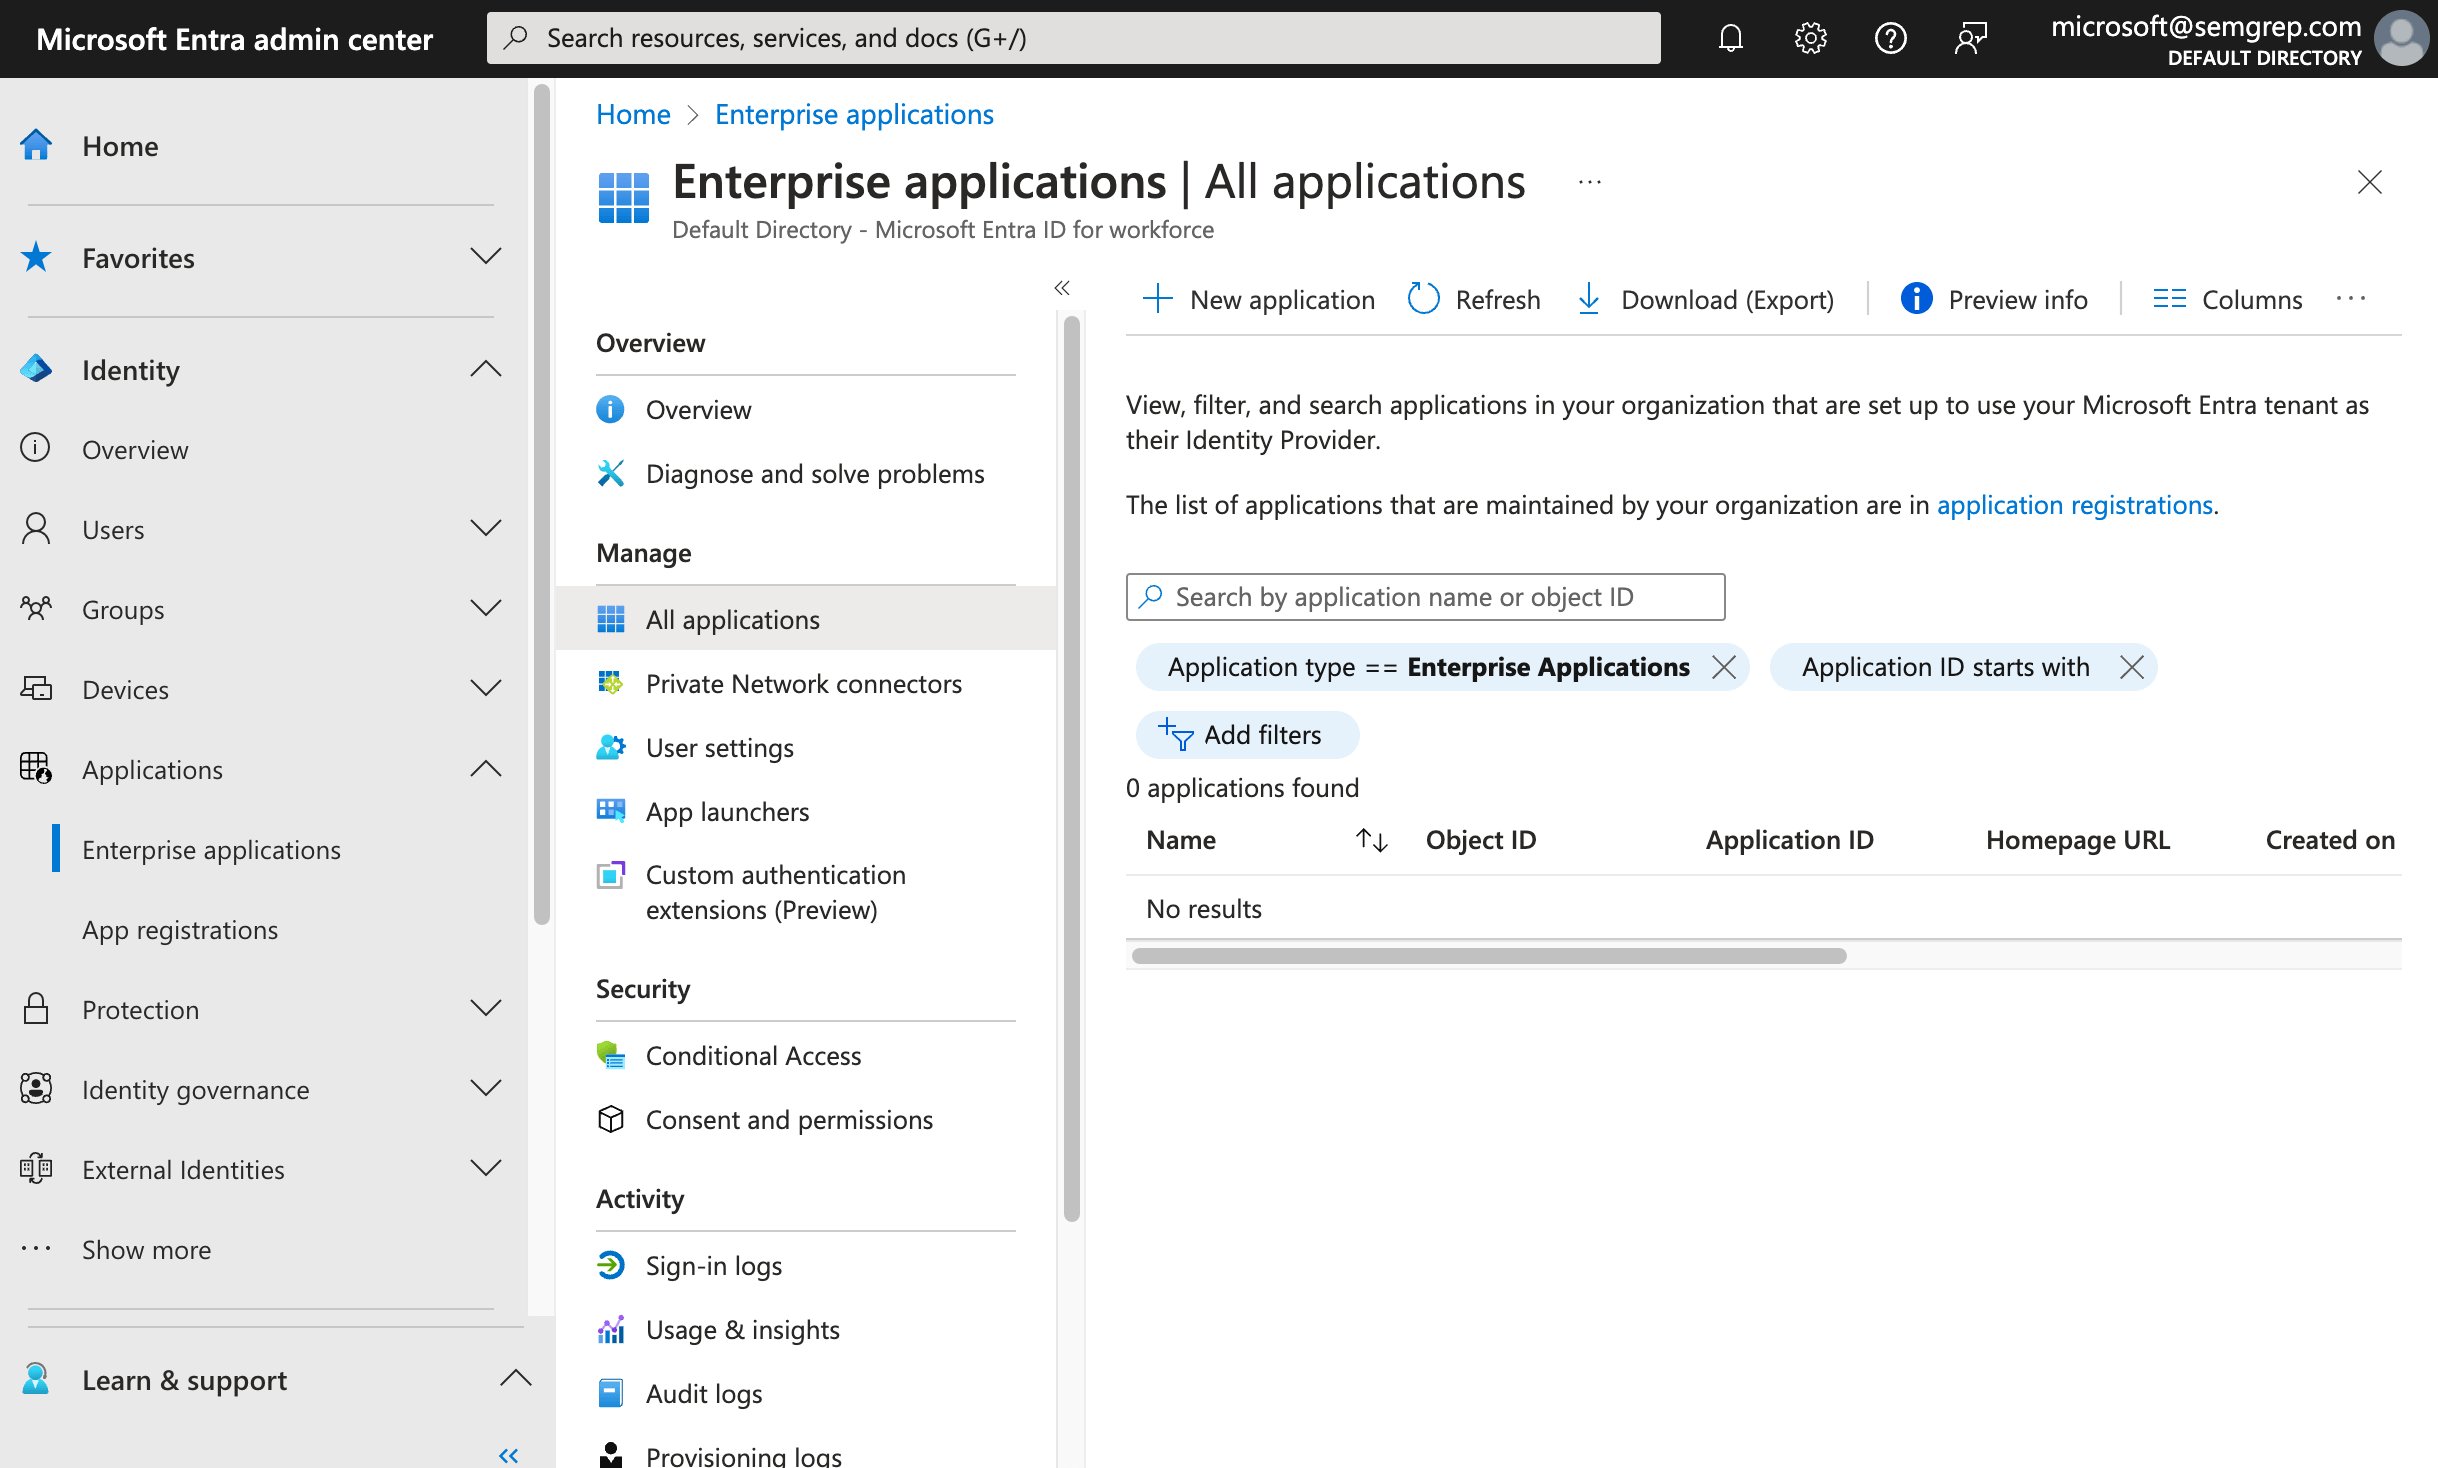
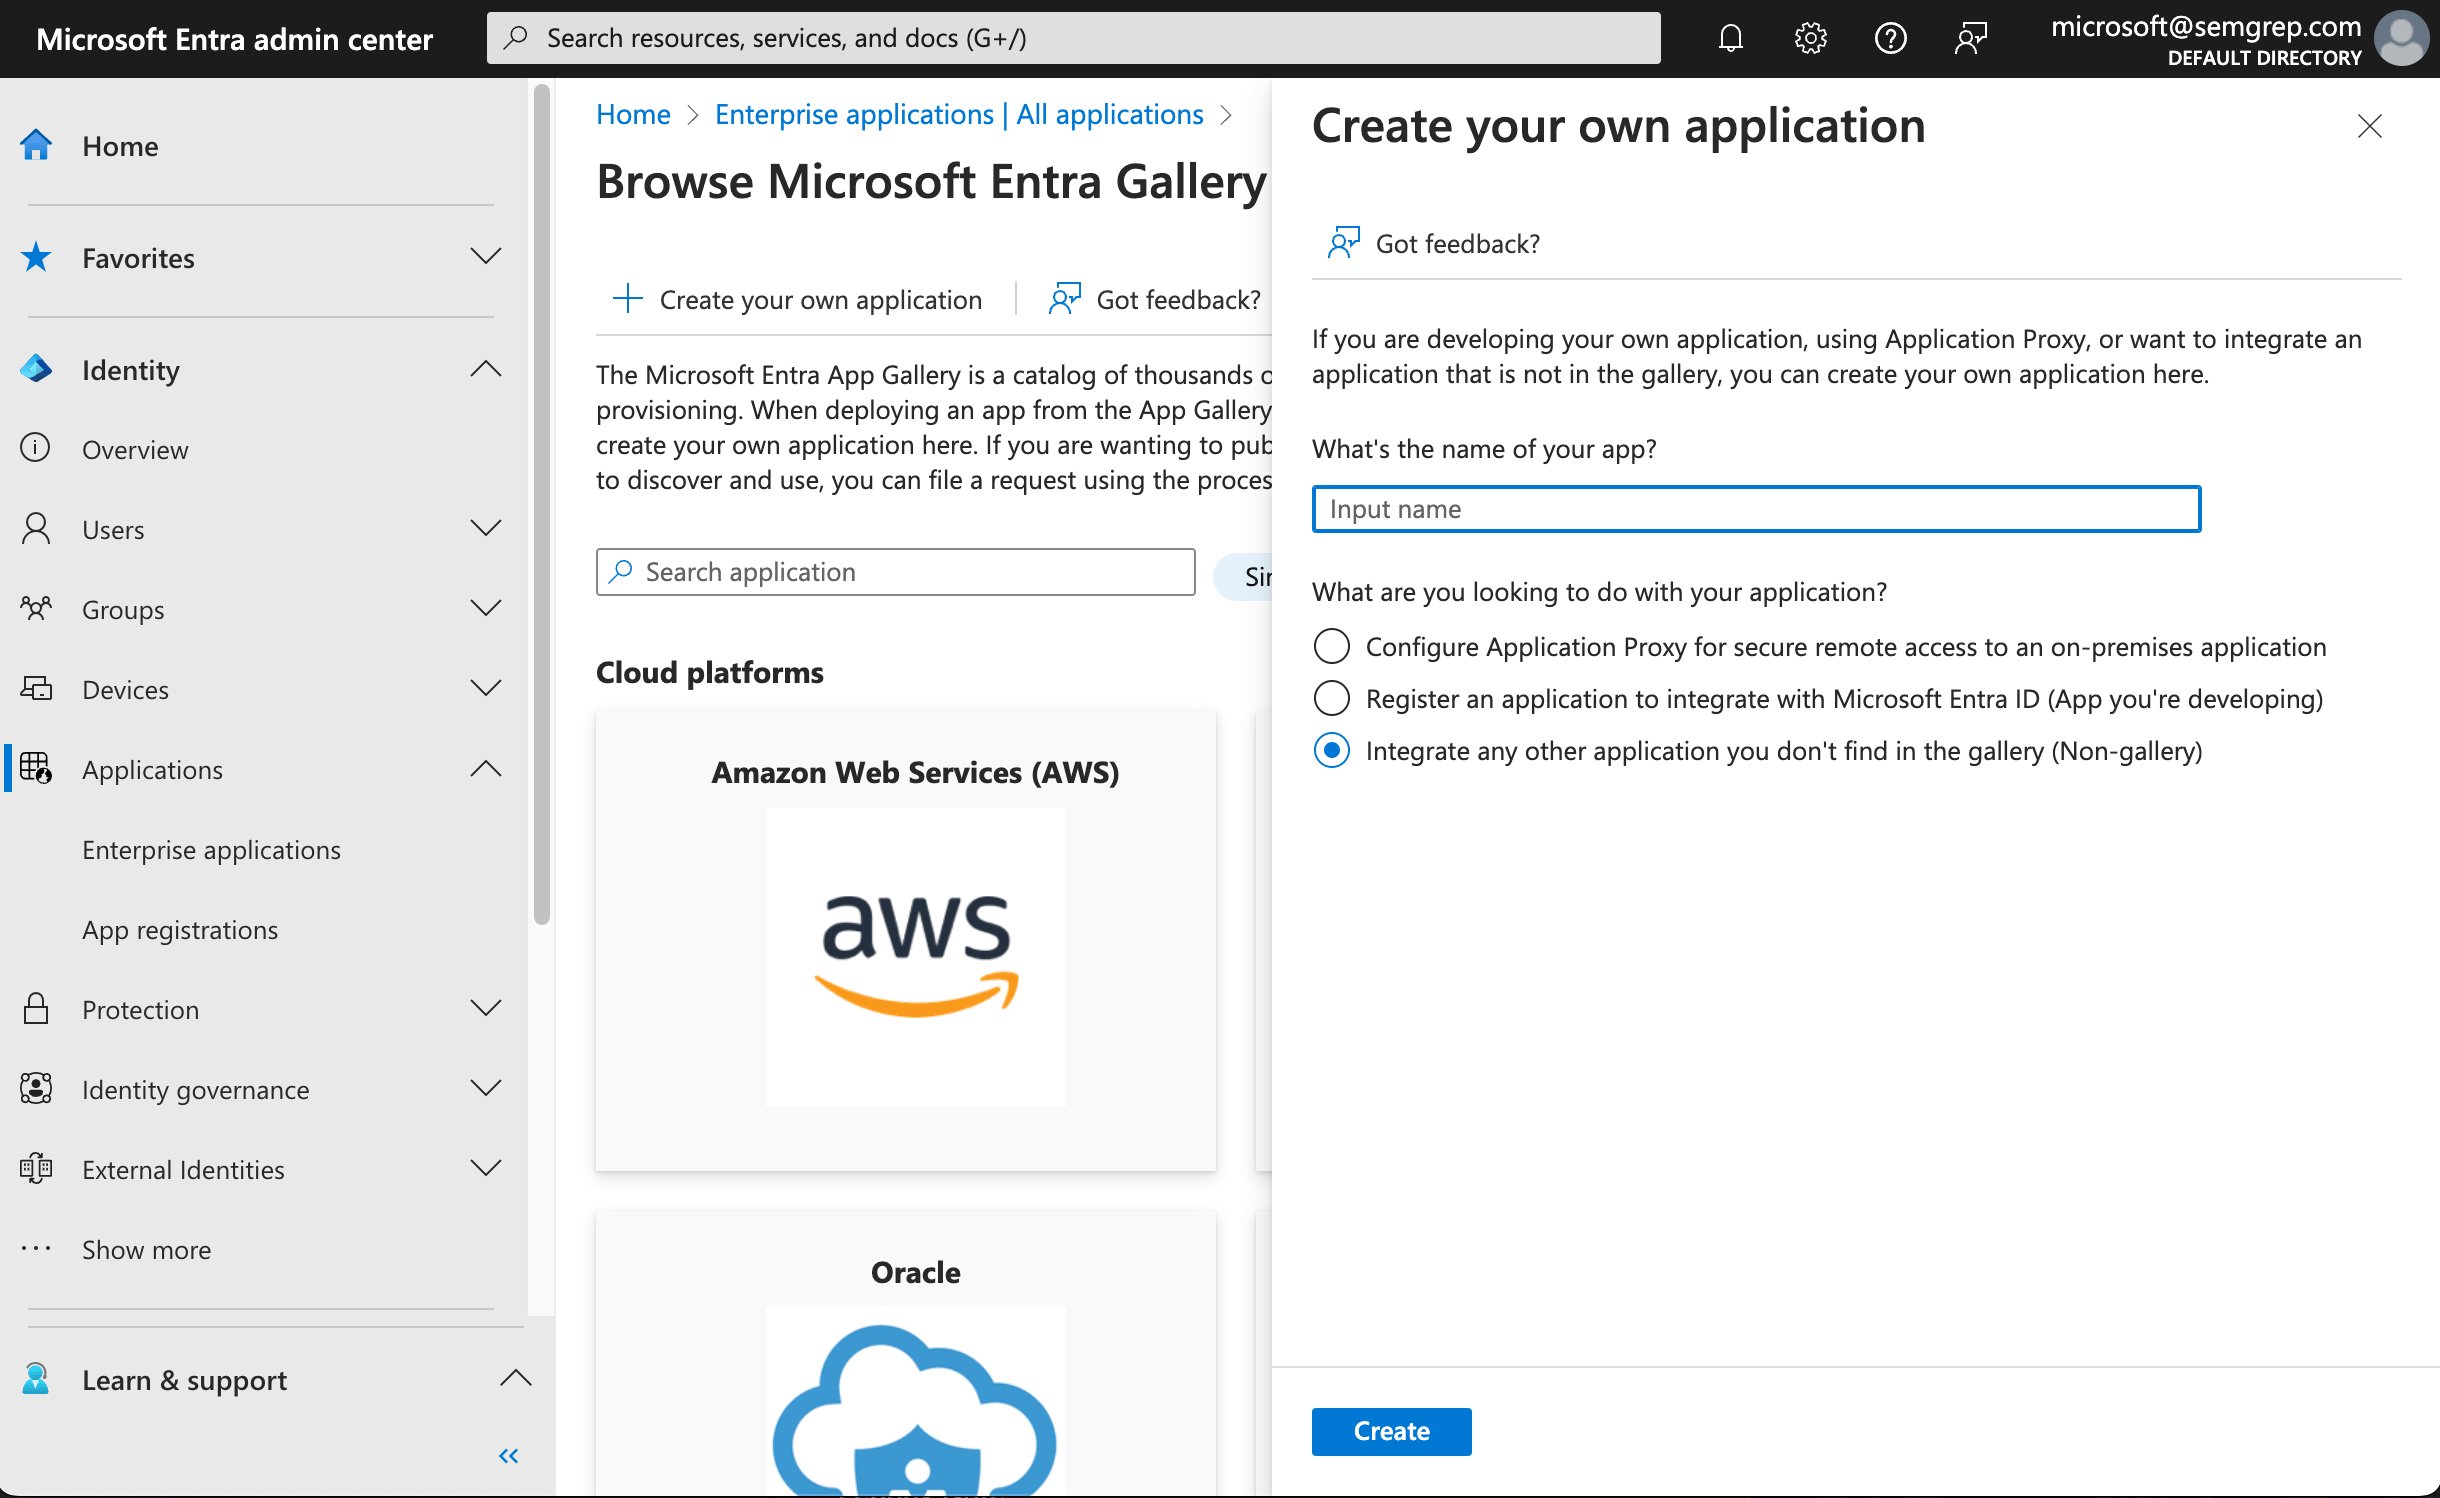
Create a custom enterprise app within Microsoft Entra ID.
2
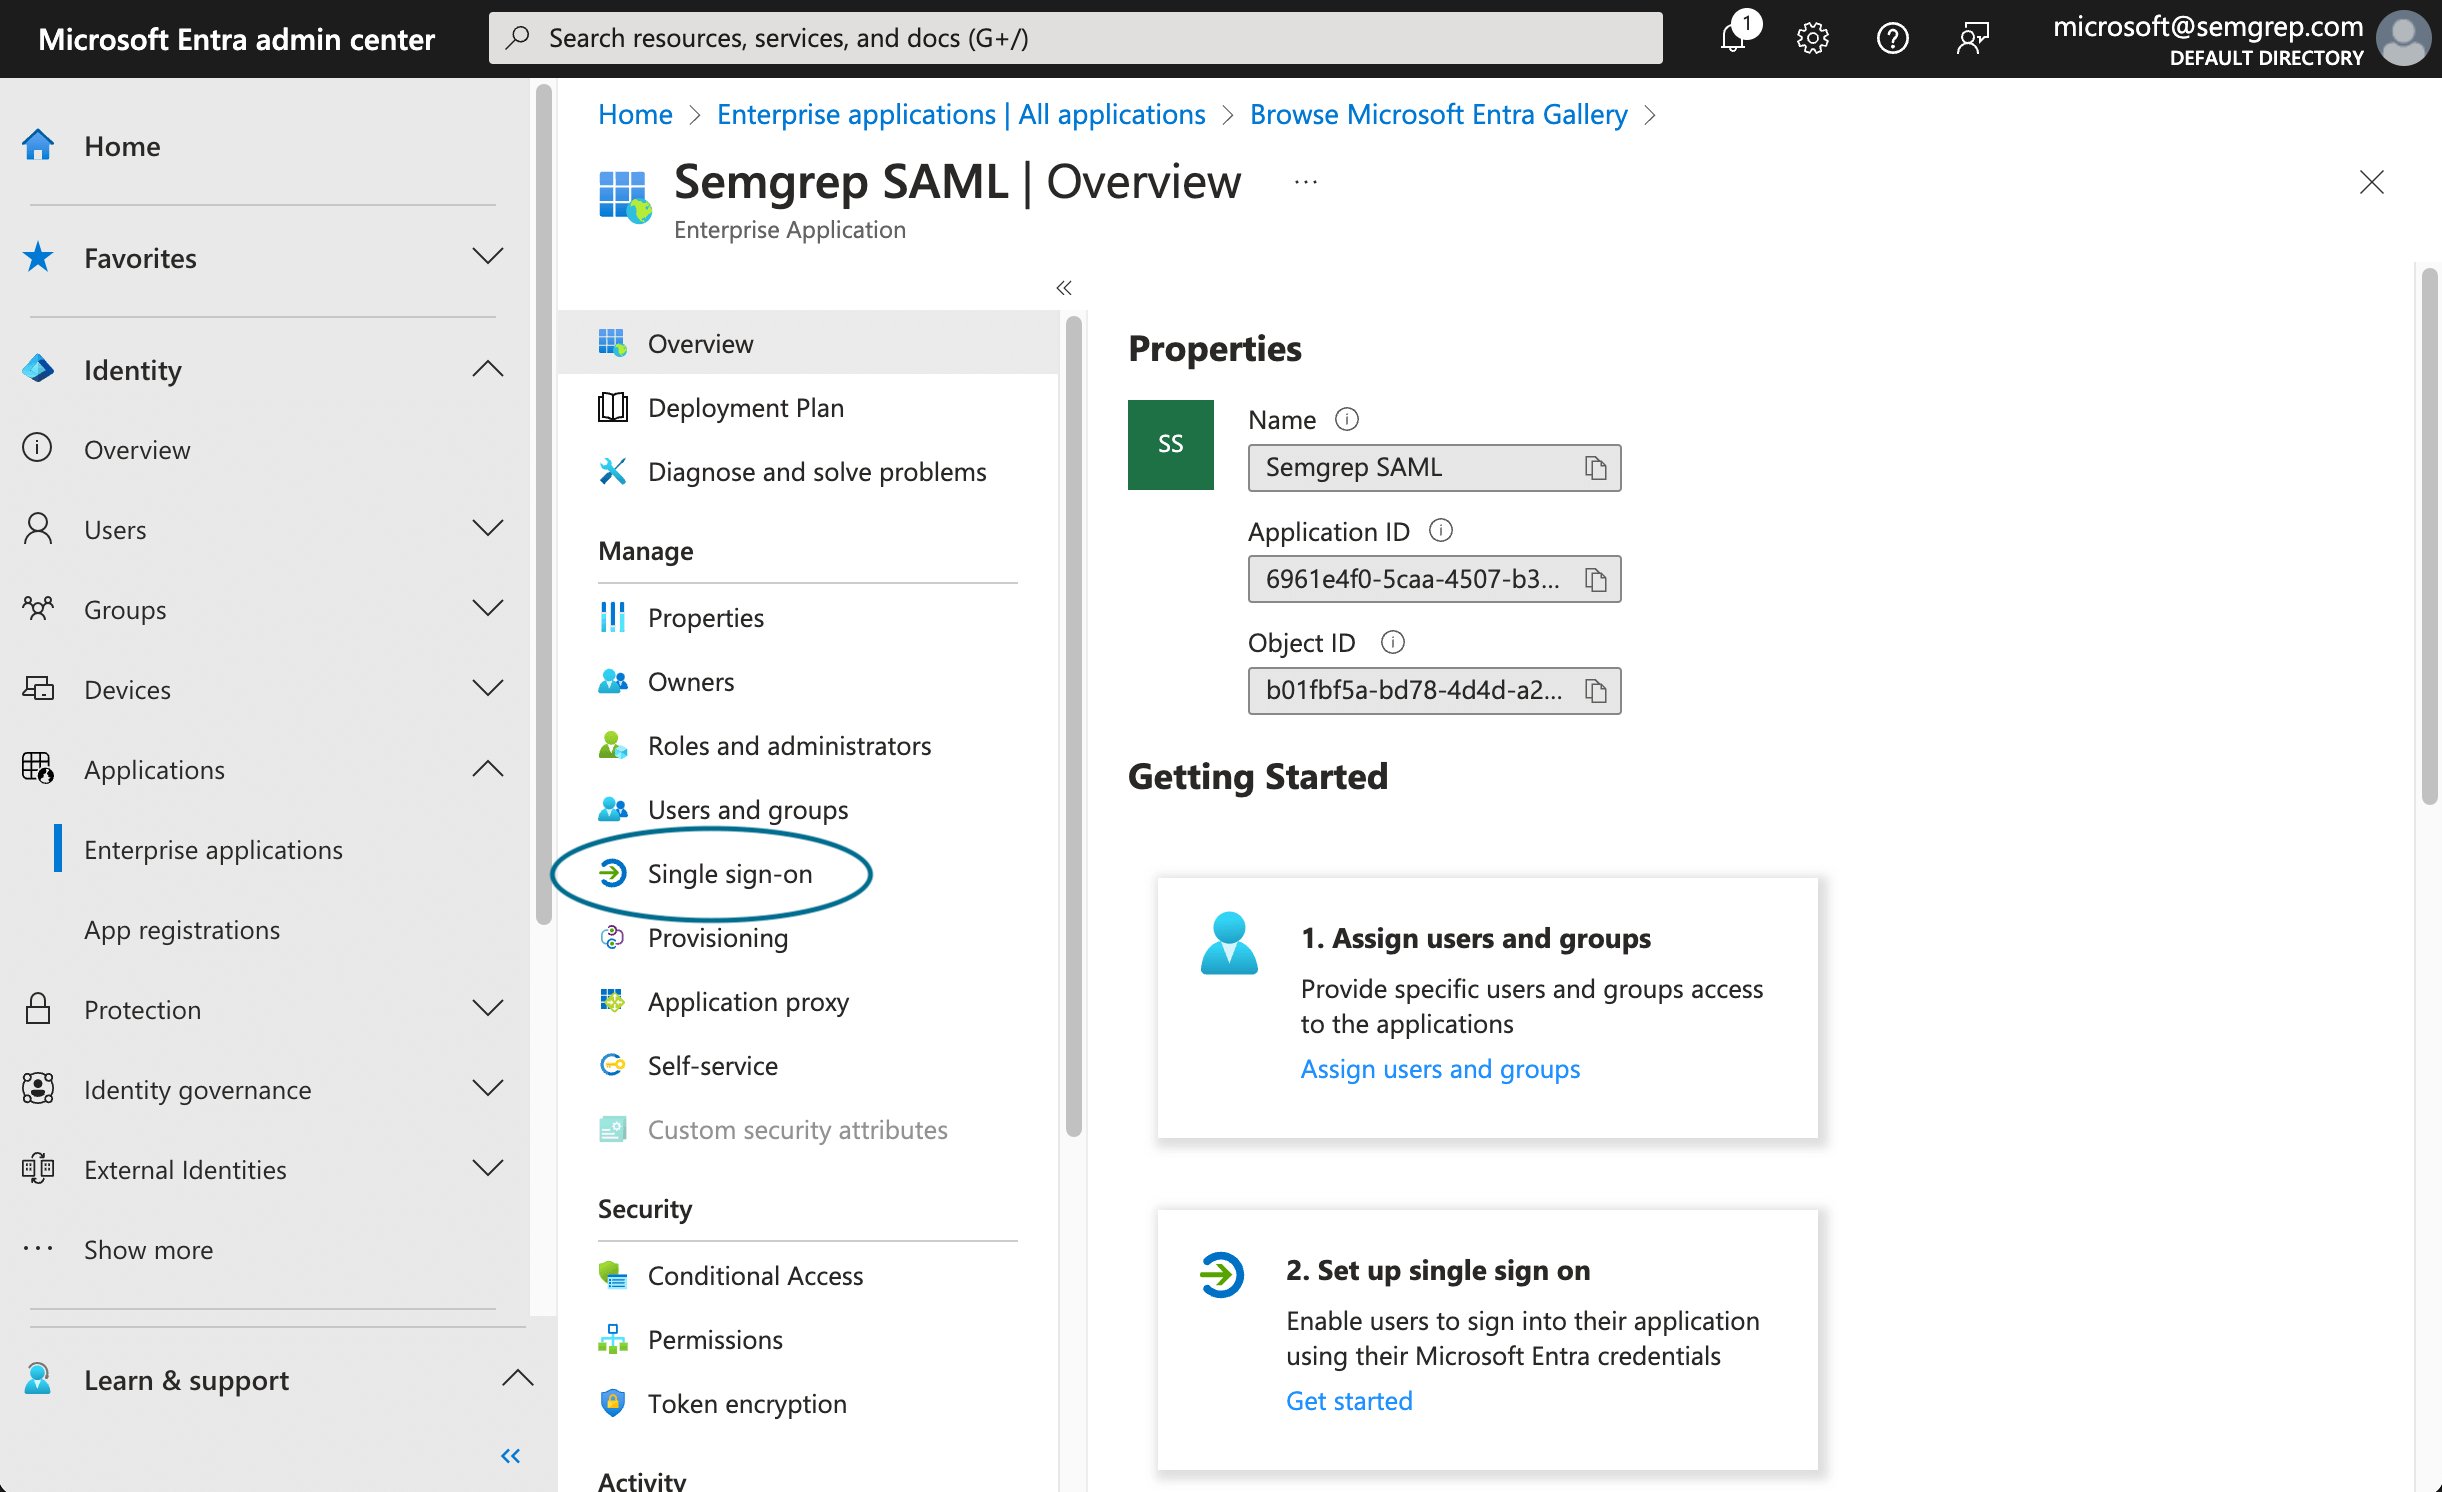
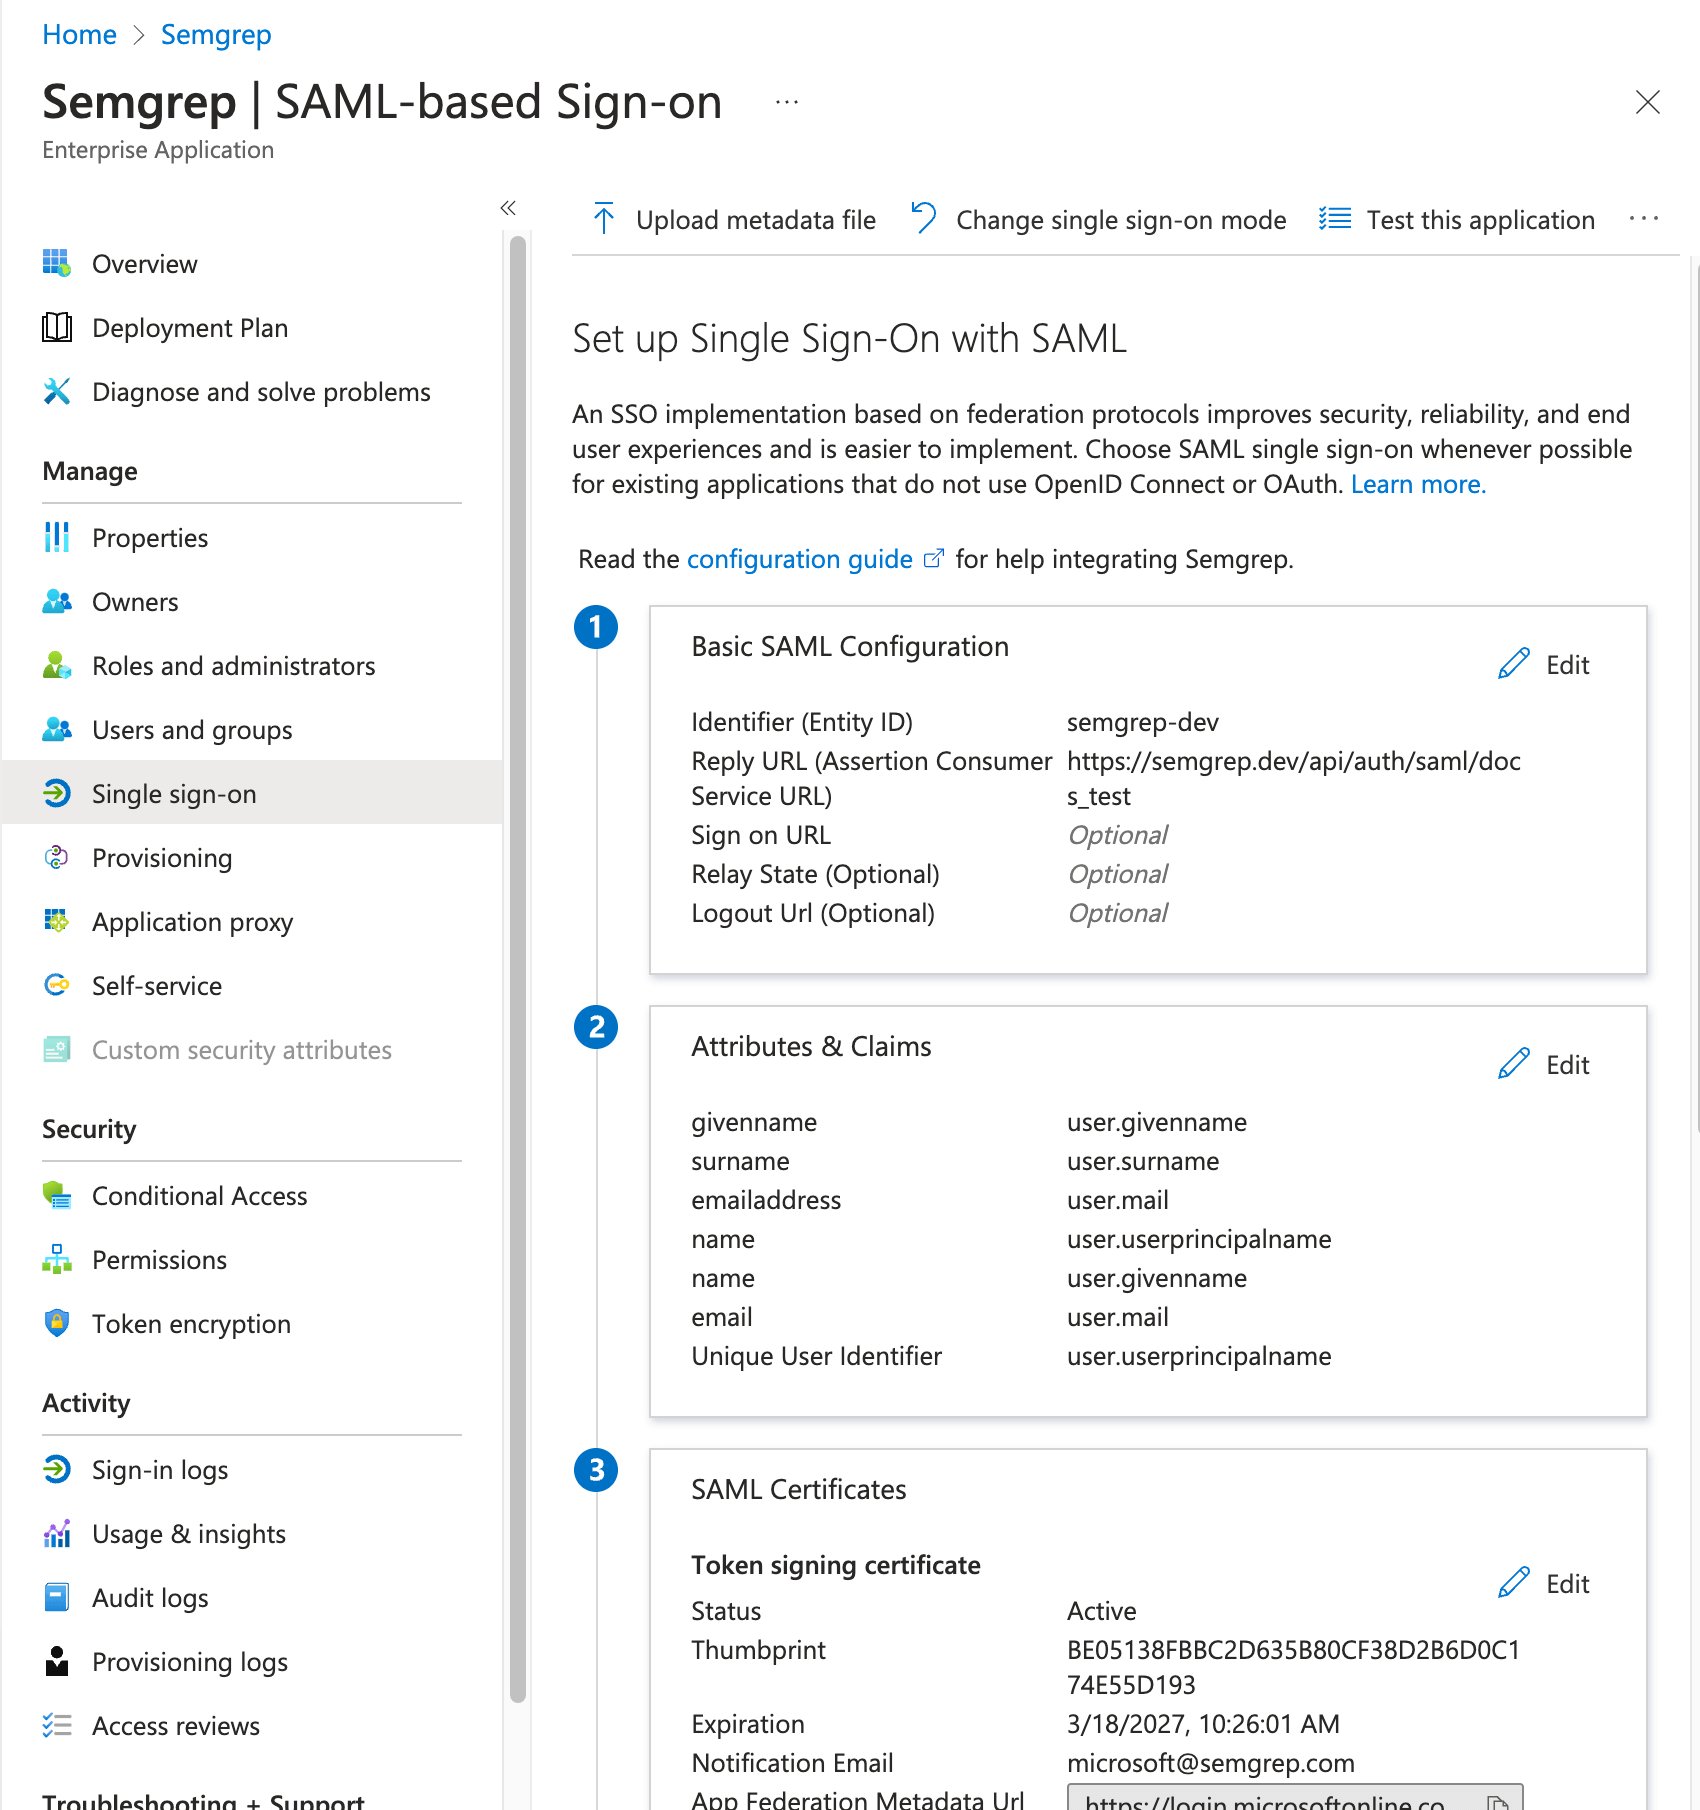
Set up SAML SSO for your new enterprise app.
3
Configure Semgrep.
4
Add users to your new enterprise app.
Configure SSO
- Guided setup (beta)
- Legacy manual configuration
1
Sign in to Semgrep AppSec Platform.
3
In the Single sign-on (SSO) section, provide a valid Email domain, then click Initialize.
4
The Configure Single Sign-On dialog appears to guide you through the remaining configuration steps. Begin by selecting Entra ID (Azure AD) SAML.
5
Follow the instructions provided on the subsequent Configure Single Sign-On dialog pages to complete this process. When you’ve completed the required steps, use Test sign-in to test the connection.
6
Once test sign-in has passed, close the test page. Verify that the Connection details shown on the Connection activated screen are correct and close the dialog.
7
Verify that the Connection status is now active under the Single sign-on (SSO) section in Semgrep AppSec Platform.
8
To use the new connection, log out of Semgrep, then log back in using SSO.