

YOUR DEPLOYMENT JOURNEY
- You have gained the necessary resource access and permissions required for deployment.
- You have created a Semgrep account and organization.
- Allows the Semgrep org membership to be managed by GitHub or GitLab.
- For GitHub users:
- Provides Semgrep access to post PR or MR comments.
- For GitHub Actions users: Enables you to add a Semgrep CI job to repositories in bulk.
- Allows you to scan and manage your Azure DevOps, Bitbucket, and Cursor Origin projects in Semgrep AppSec Platform.
- Allows the Semgrep platform to generate hyperlinks to code in findings.
Connect to cloud-hosted orgs
If you opted to scan a GitHub or GitLab repository when you initially signed in, you may have already performed these steps and can skip to Next steps.- Azure DevOps Cloud
- Bitbucket Cloud
- GitHub Cloud
- GitLab Cloud
- Cursor Origin
Azure DevOps Cloud
1
Sign in to Semgrep AppSec Platform.
2
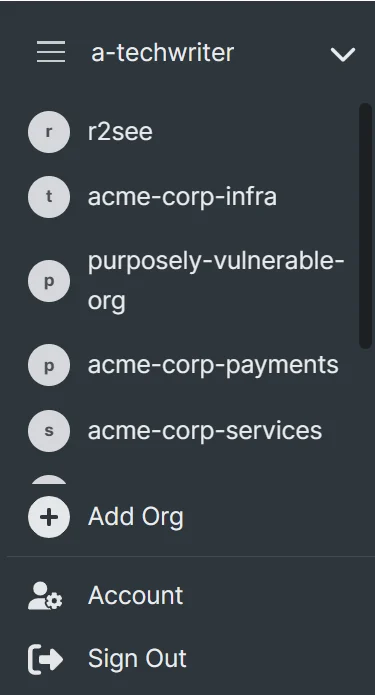
Optional: If you have created more than one Semgrep account, select the account you want to make a connection for by clicking on the Navigation bar > Your account name > The account you want to connect.
3
Go to Settings > Source code managers > Add > Azure DevOps.
4
In the Connect your Azure DevOps Project dialog box, provide:
- The Name of your Azure DevOps Organization.
- The Name of your Azure DevOps Project. The name of your Azure DevOps organization and project can be seen in the project URL, for example
https://dev.azure.com/organization/project. - Your Access token. See User personal access tokens for information on generating a token.
5
Click Connect to save and proceed.
6
The Azure DevOps project is now listed under Source code managers. Click Test to verify that the new connection is installed correctly.
Connect to on-premise orgs and projects
- Bitbucket Data Center
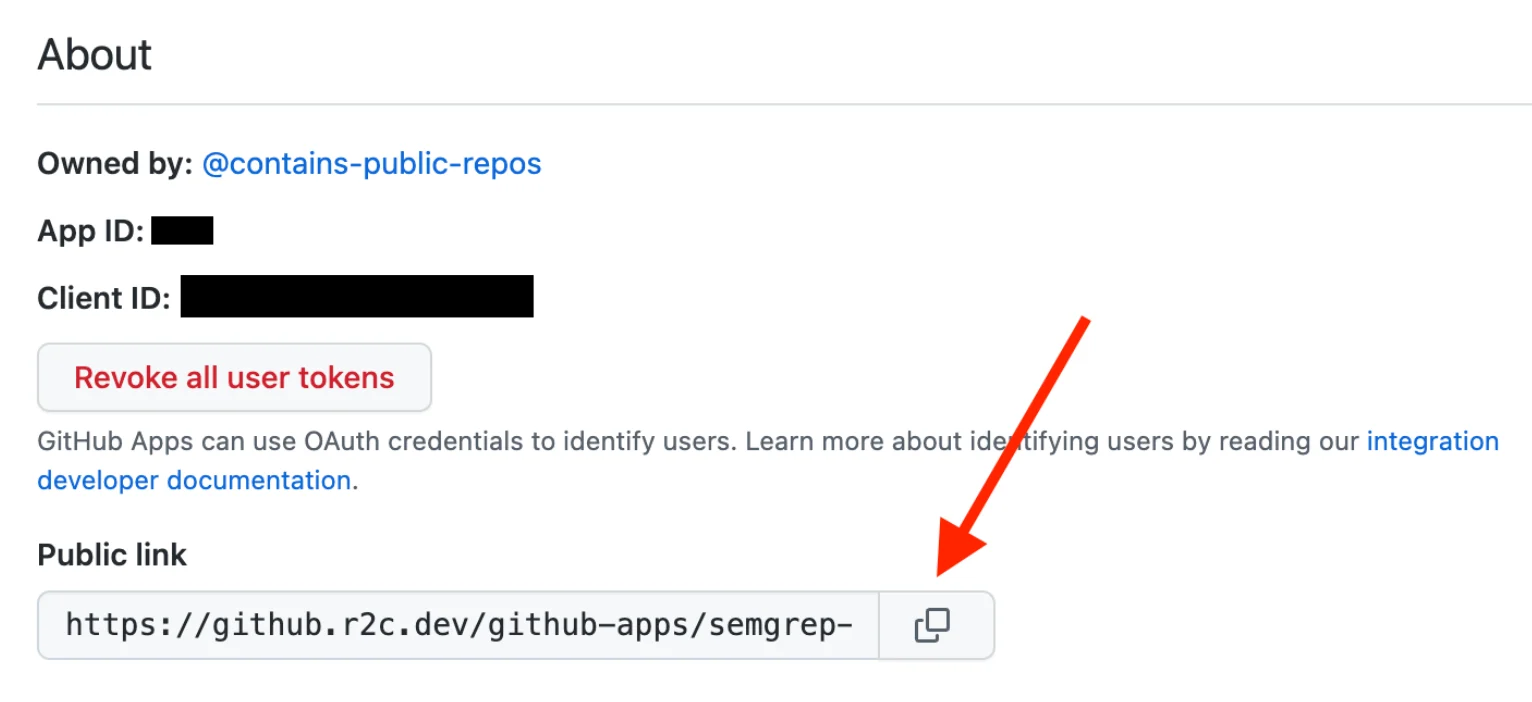
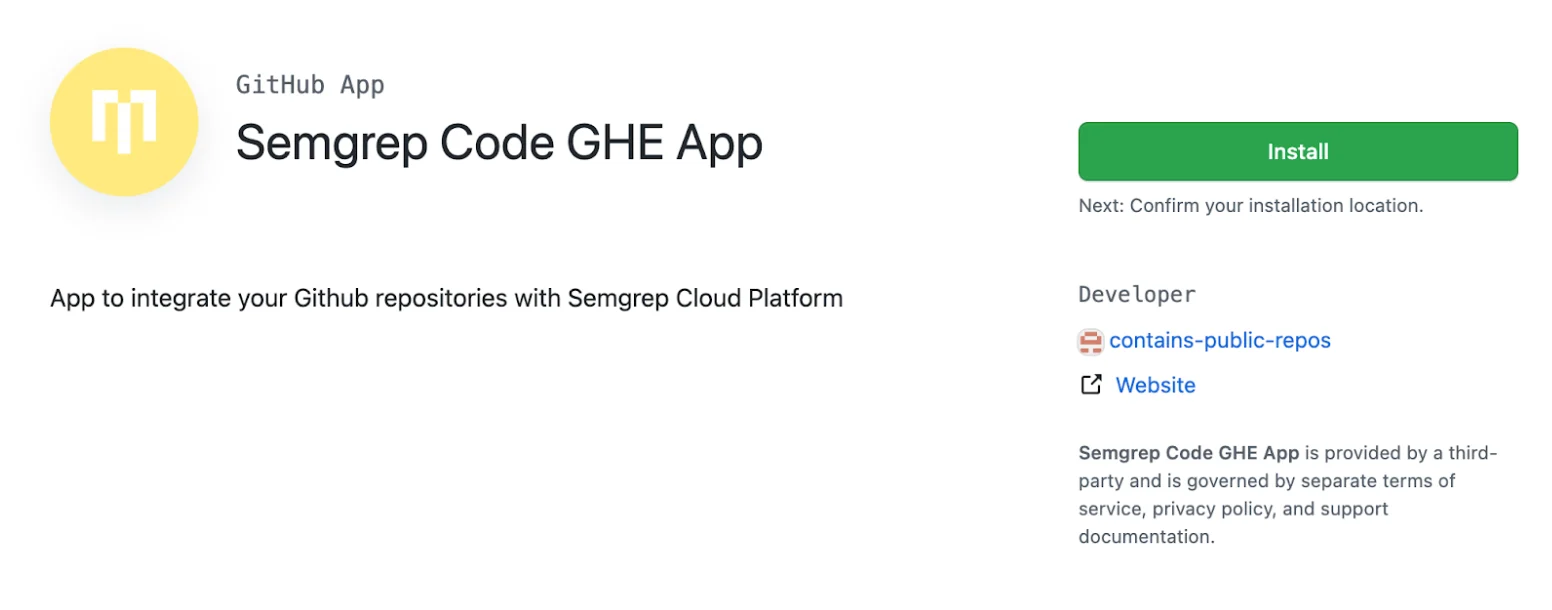
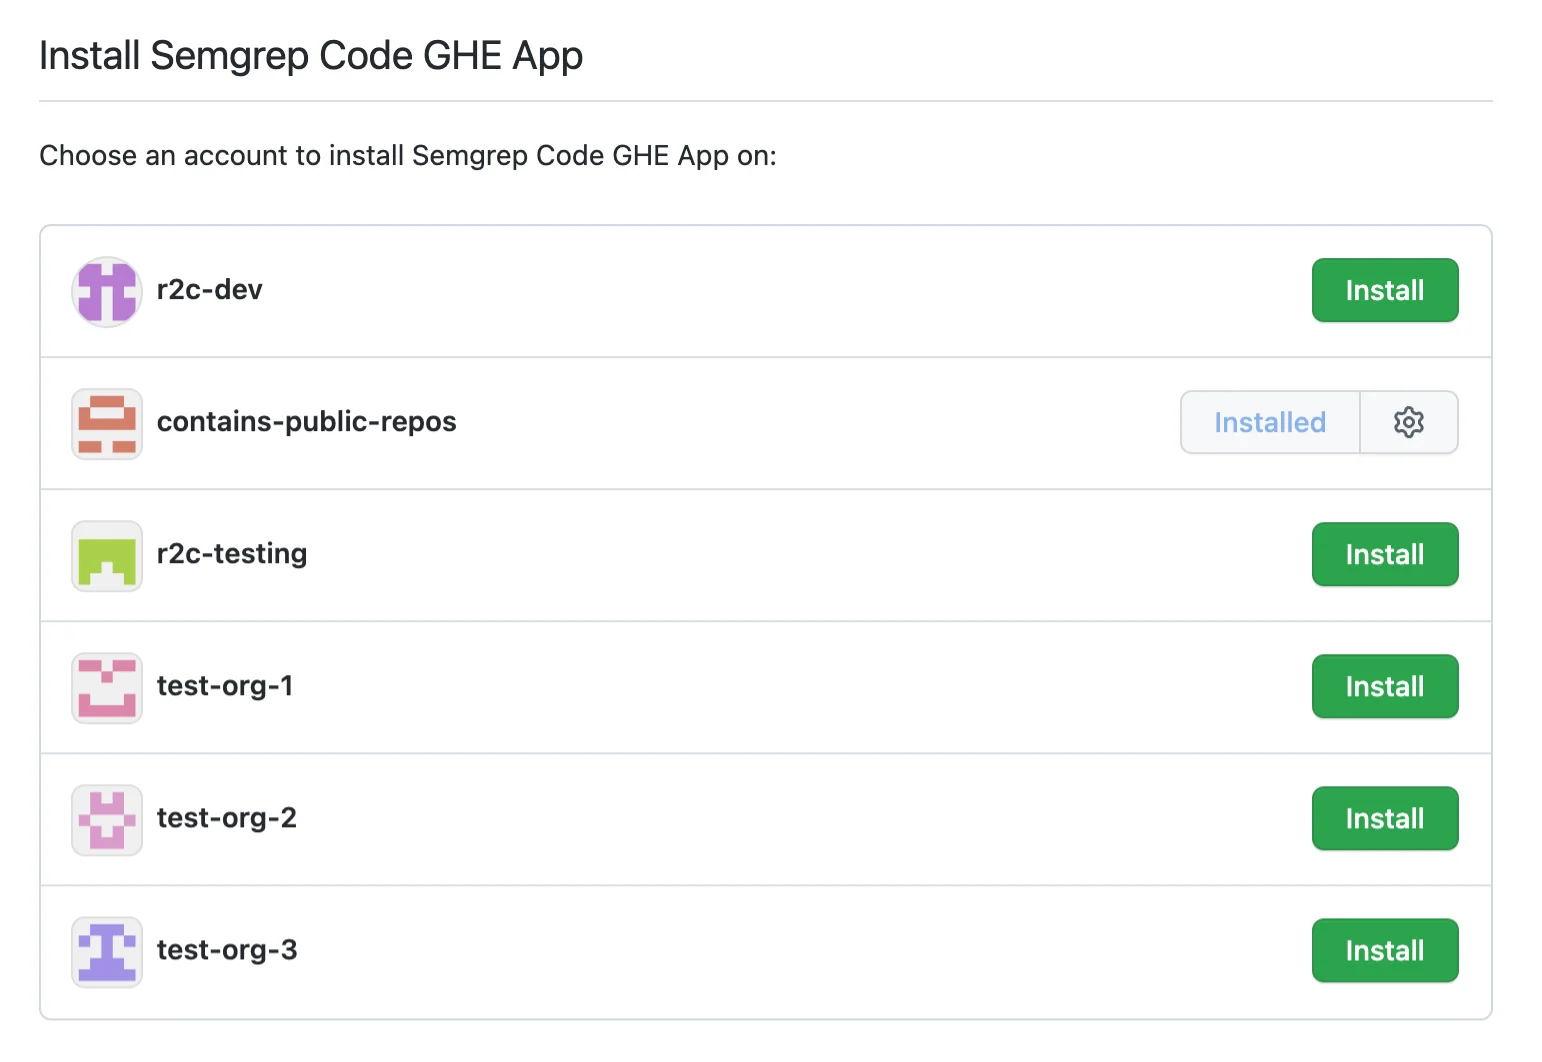
- GitHub Enterprise Server
- GitLab Self-Managed
Bitbucket Data Center
2
Copy the token for use in the next steps.
3
Sign in to Semgrep AppSec Platform.
4
Optional: If you have created more than one Semgrep account, select the account you want to make a connection for by clicking on the Navigation bar > Your account name > The account you want to connect.
5
Go to Settings > Source code managers, and click Add > Bitbucket Data Center.
6
In the Connect your Bitbucket project (key) dialog box, provide:
- The Name of your Bitbucket project (key). This must be the project key, which you can find by navigating to
<YOUR_BITBUCKET_DATA_CENTER_BASE_URL>/projects. - The URL to access your installation of Bitbucket Data Center; this is your fully qualified domain name.
- The Access Token that grants Semgrep permission to communicate with your project.
7
Click Connect to save and proceed.
8
The Bitbucket project is now listed under Source code managers. Click Test to verify that the new connection was installed correctly.
9
To enable merge request comments, click Incoming webhooks.
10
Optional: Click Auto scan to onboard all current and future repositories under your project to Semgrep Managed Scans.

Next steps
- Optional: See SSO authentication to set up user management through SSO.
- You are ready to scan your org’s repositories with Semgrep.